This page contains several tips on how to install GNU/Linux on your machine.
In all cases we assume you would be installing to a reasonably new laptop with Intel/AMD processor and at least 50 GB free space on your hard-drive. We also assume that the distribution of choice is Fedora. Note that Linux can be installed with much less free space if needed (and on different architectures as well) but it requires a bit more experience to do so. We also assume that you are installing Linux as your second operating system and want to keep both (so called dual-boot).
Our video tutorial is in this folder on Sharepoint.
Being up-to-date
Please note that there are many tutorials etc. on the internet about Linux installation that are more than 10 years old. They often mention issues that are simply non-existent today: installers today are much more user friendly and are much more capable and installation is really just three clicks away.
If you do not like the videos from us, following two (video) tutorials are reasonably recent: first and second
Playing it safe
Installing Linux is really not difficult but one still has to be careful. We highly recommend to check things twice before confirming any destructive action. Seriously: the installer will not destroy your data unless you give approval. A simple measure is to use different sizes for each of your partition and always check that the size is what you expect, for example.
You can always install Linux first in a virtual environment (such as VirtualBox) to see individual steps before installing on a physical hardware.
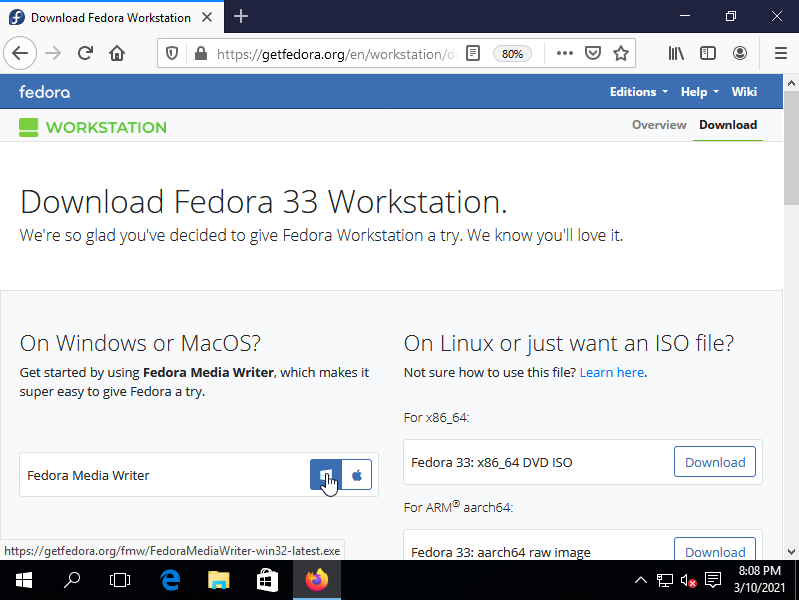
Getting the installation image
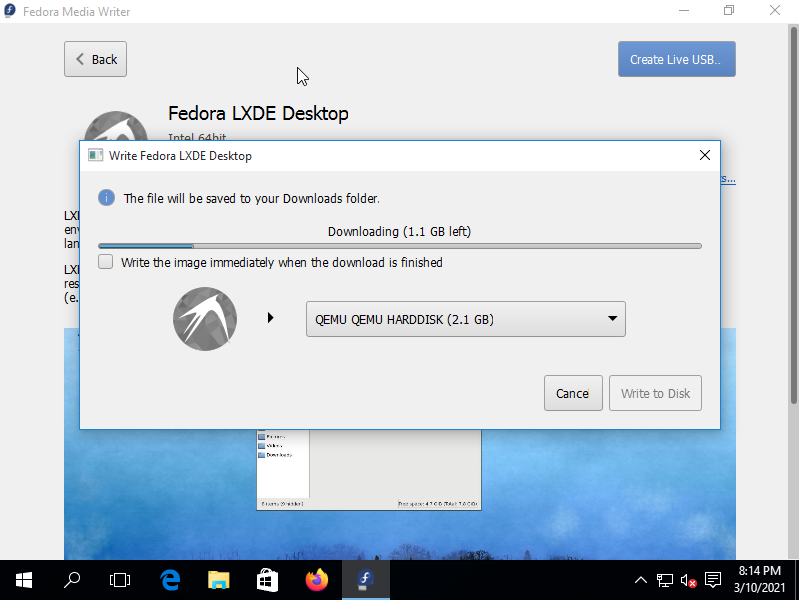
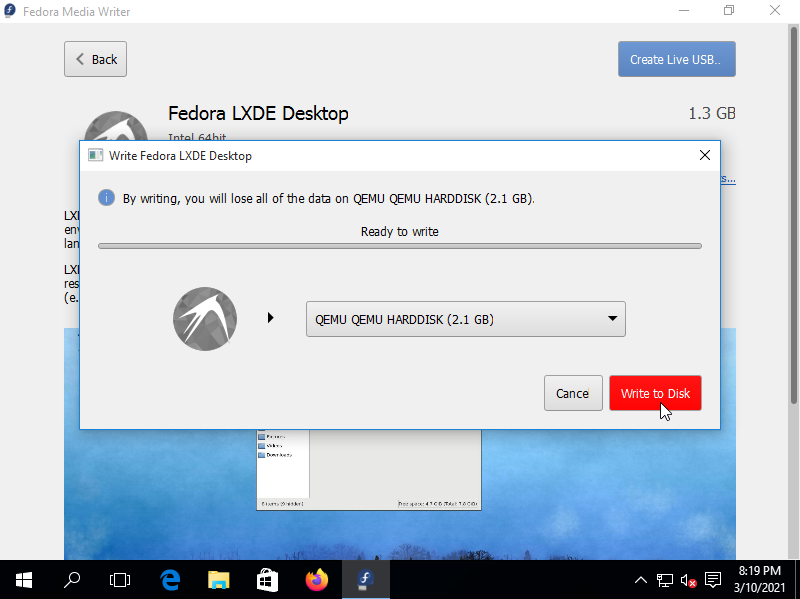
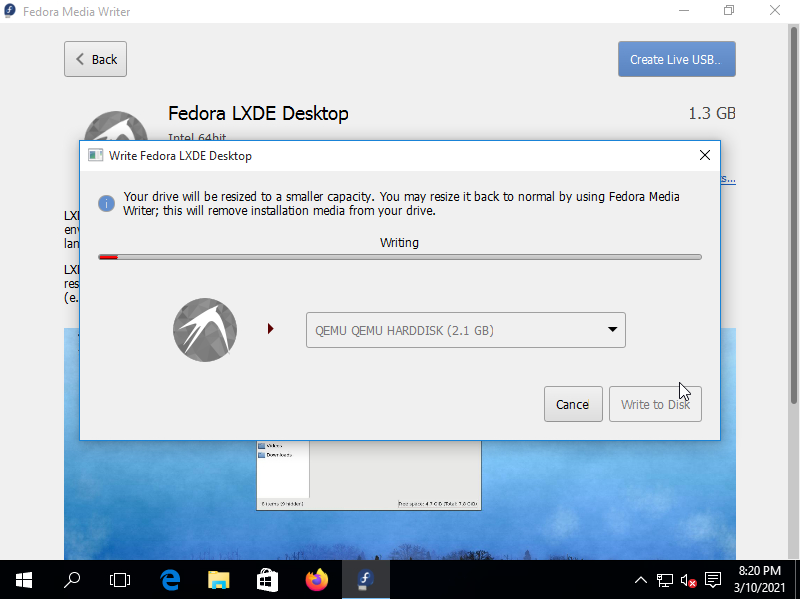
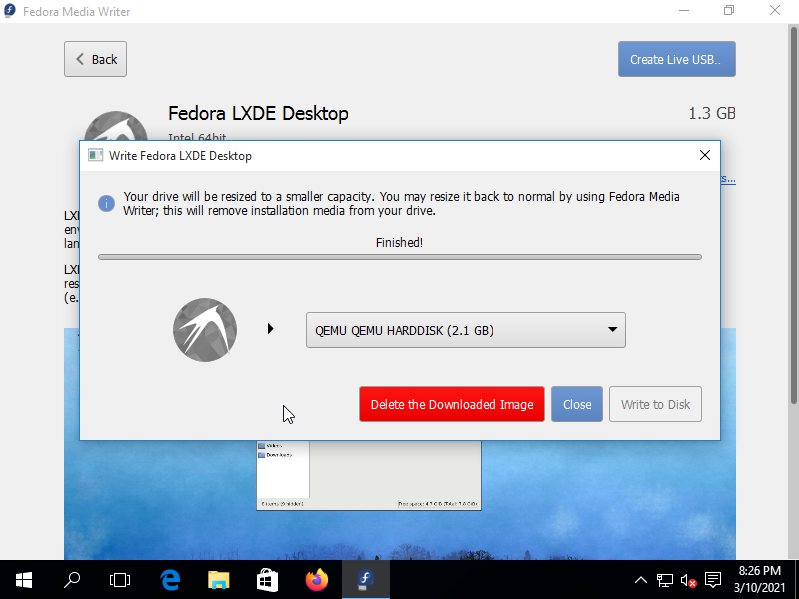
To begin the installation, you need to prepare a bootable flash disk with the installer (burning it to CD works as well). We recommend to use the Fedora Media Writer that is able to prepare the bootable flash disk for you. You will need at least 2GB flash drive for this.
However, if you have used Rufus already, you can use it to burn the downloaded ISO as well. It will work the same.
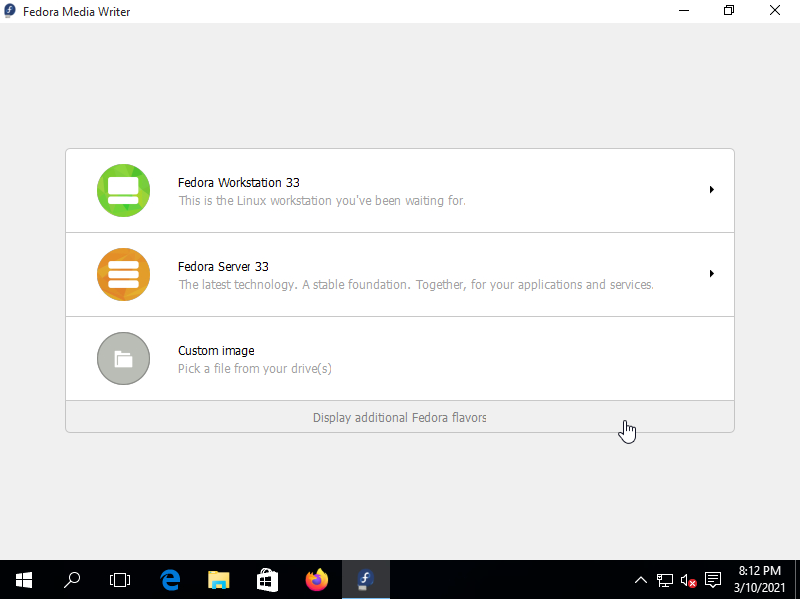
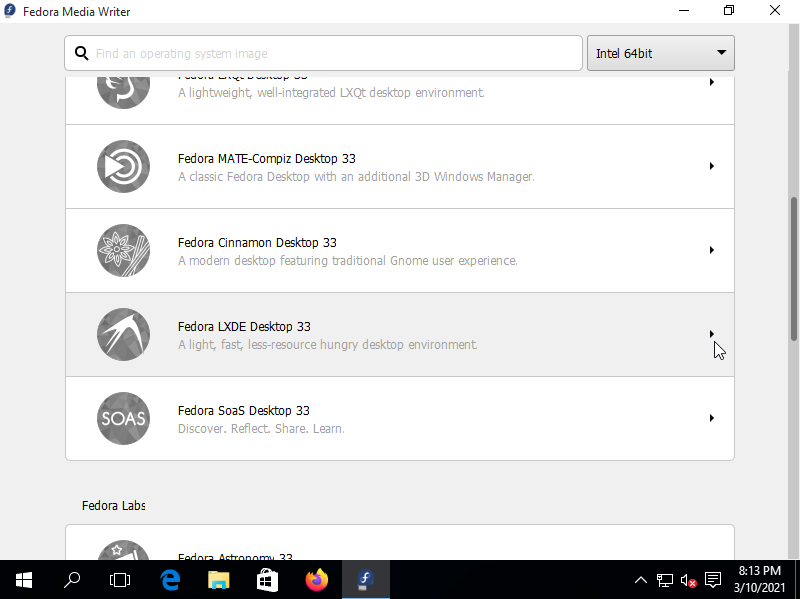
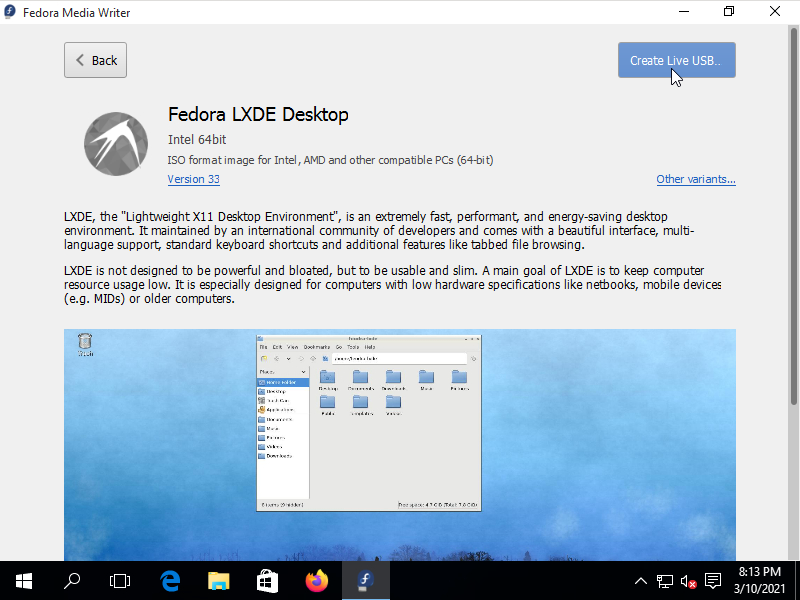
Note that with Fedora you can choose from several Spins if you need a different desktop environment. In the images below we will be using LXDE-based Spin to demonstrate this feature.
Note that you can always install other environments later and the Spin is purely about what will be available after fresh installation.


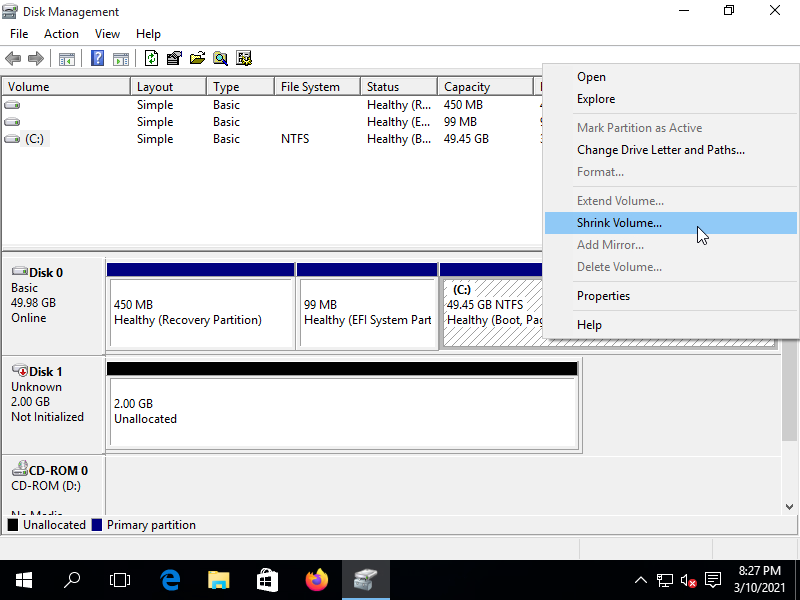
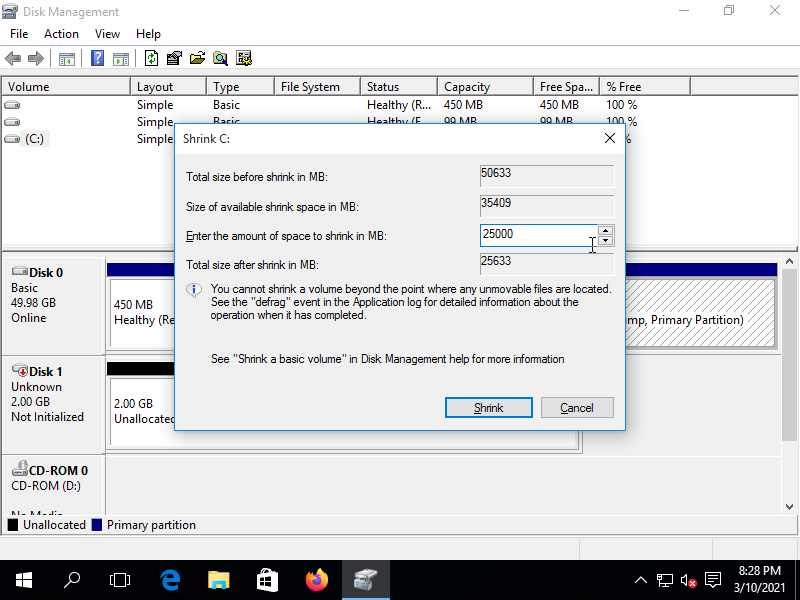
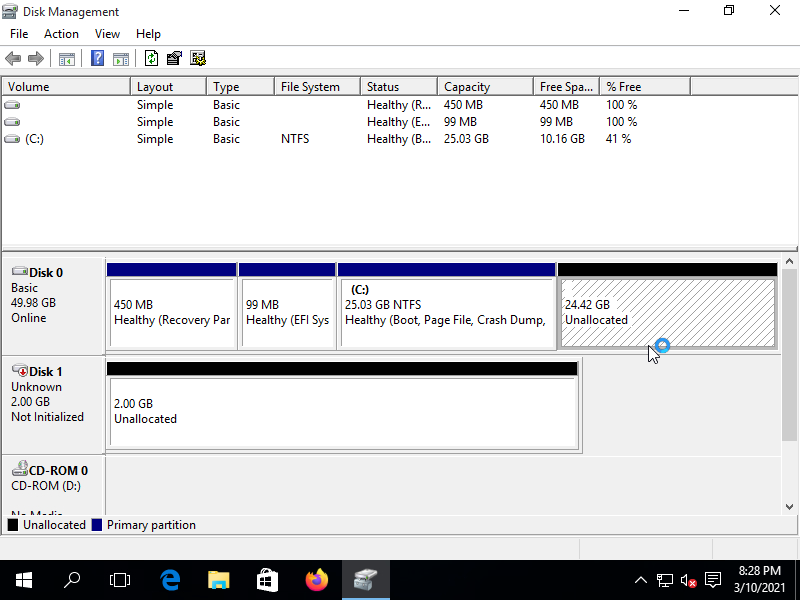
Preparing your hard-drive
Your hard-drive is divided into so-called partitions. Typically, there will be a special (and small) partition with UEFI that you rarely need to touch (definitely not now!). Next to it will probably be one or two partitions with your existing operating system. You need to shrink one of them to make space for Linux. The shrinking can be done either from the installer or beforehand in Windows.
Shrinking partitions in Windows can be done easily via the Disk management program. Following mini-tutorials might help you: How to Shrink a Volume or Partition in Windows 10 (TenForums) and Windows 10 Tutorial: Shrink, Partition, Extend Disk Volumes (YouTube).

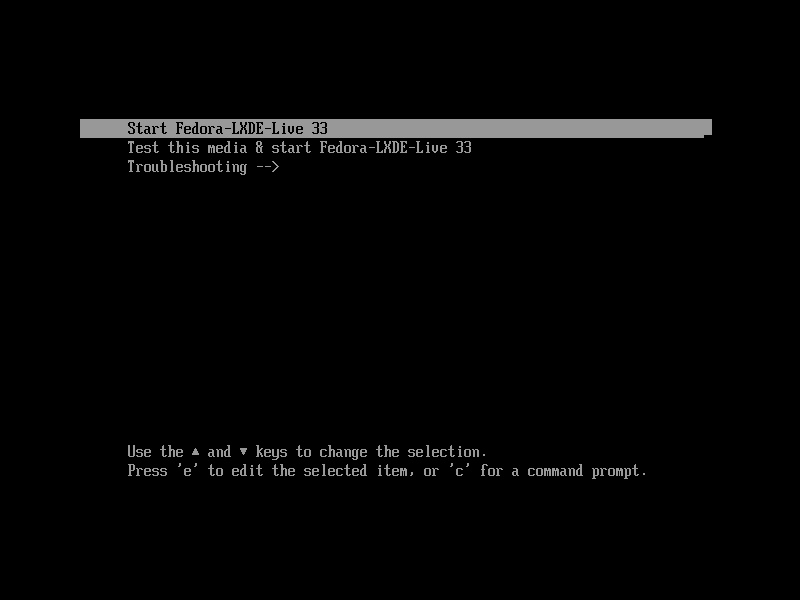
Booting the installer
Once you have prepared the bootable disk, plug it inside your computer and
boot from it.
On systems with legacy BIOS, hitting F11 or F12 during boot will bring a
simple menu where you can choose whether to boot from your internal hard-drive
or the attached USB drive.
On machines with UEFI, the easiest way is to select this directly from the
existing operating system.

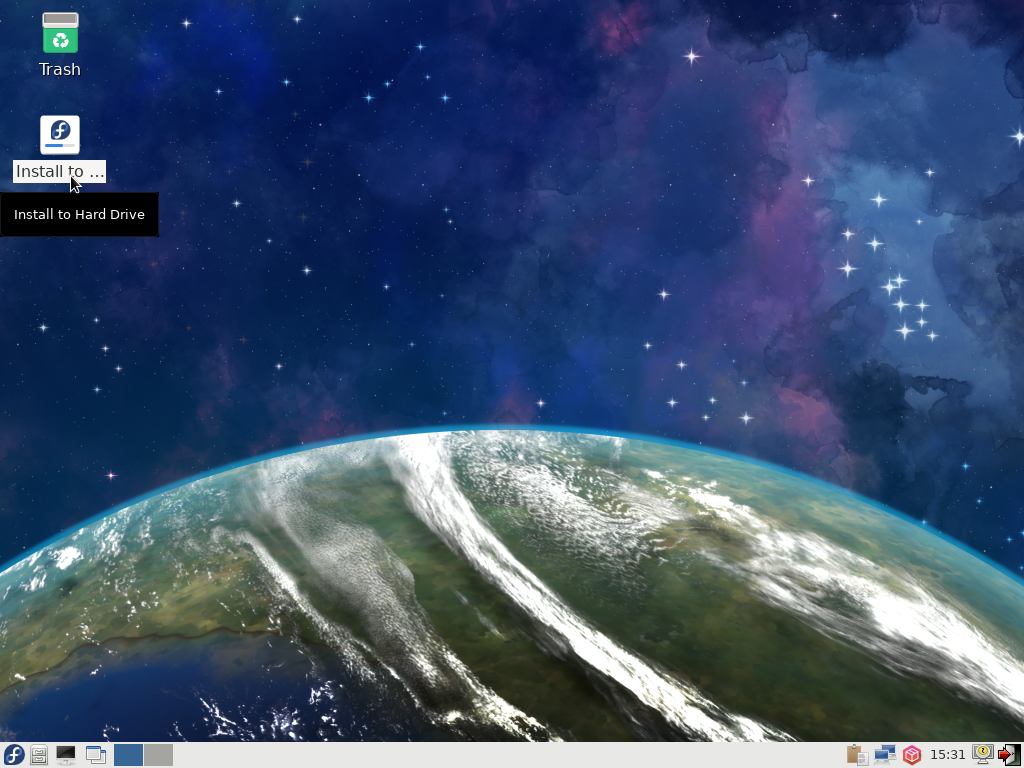
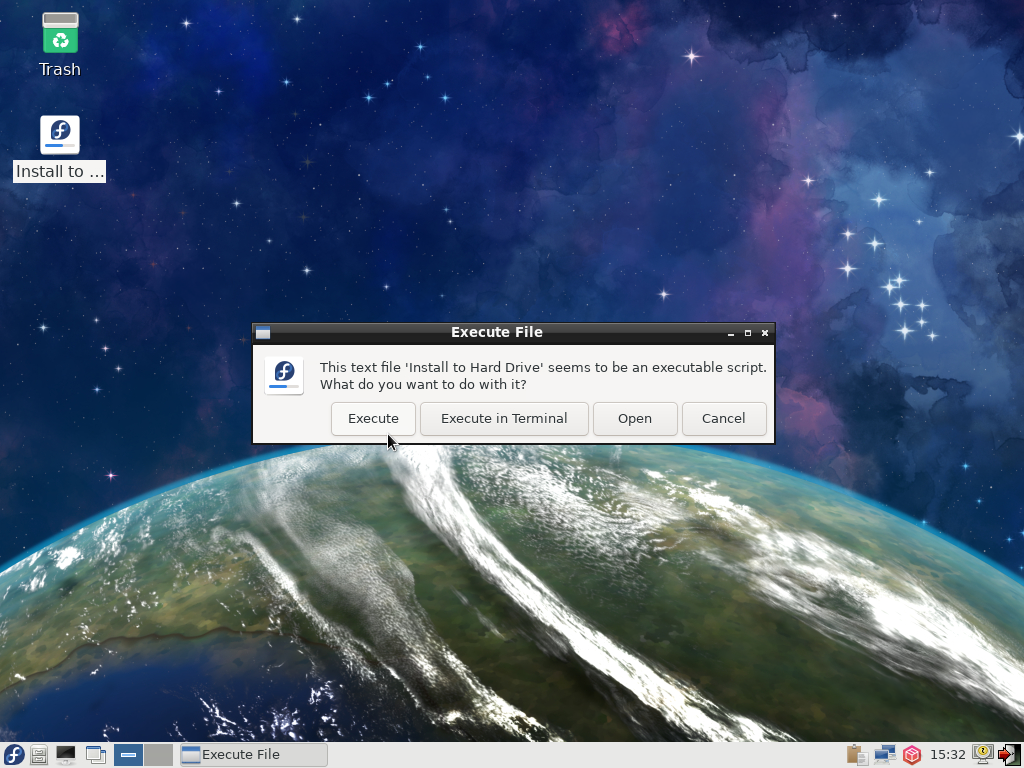
The actual installation
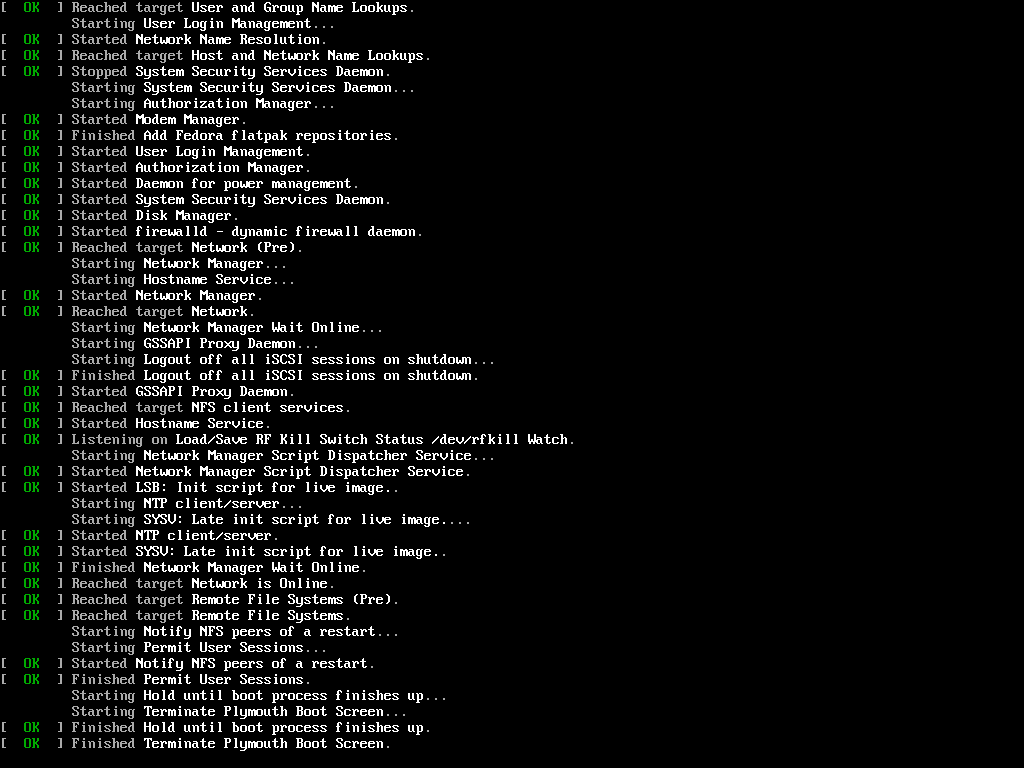
Launching the installer is very simple once Linux boots into the so-called live environment.
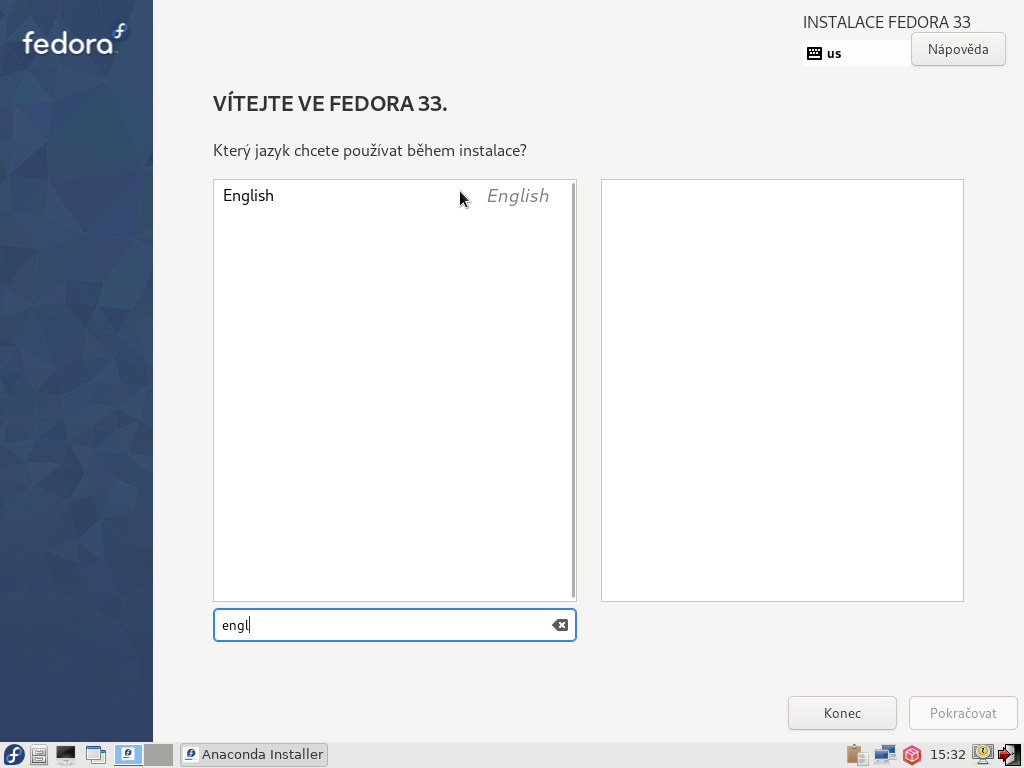
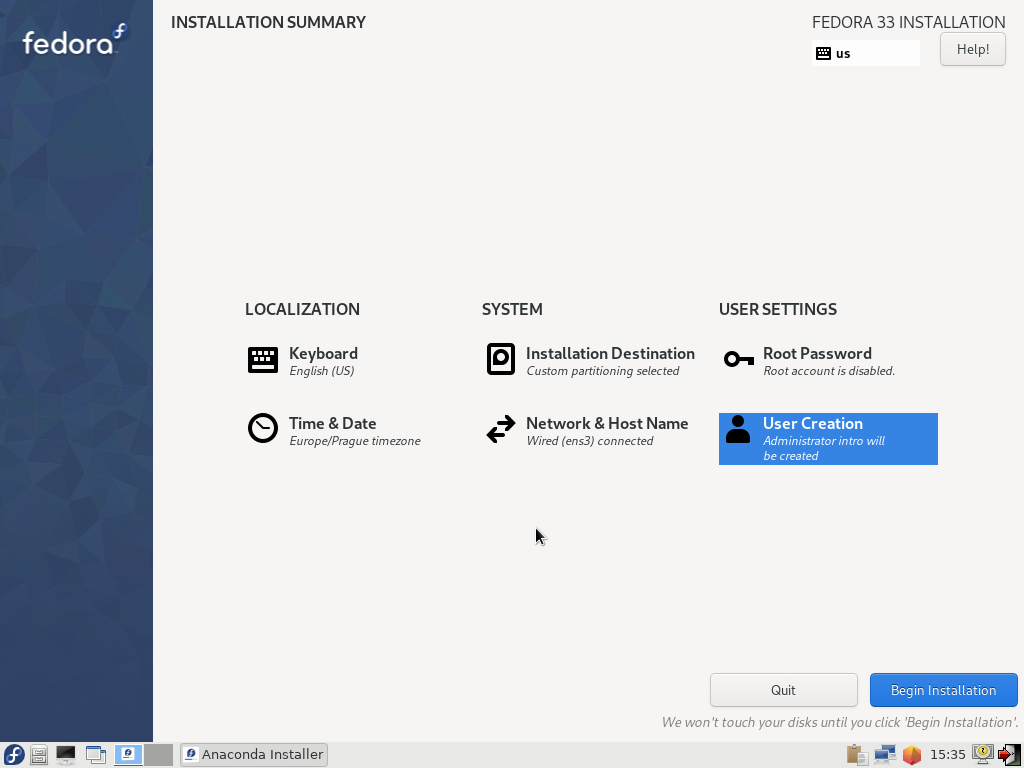
After that you only need to go through several steps inside the installer. Selecting the right language, keyboard and time-zone is easy.
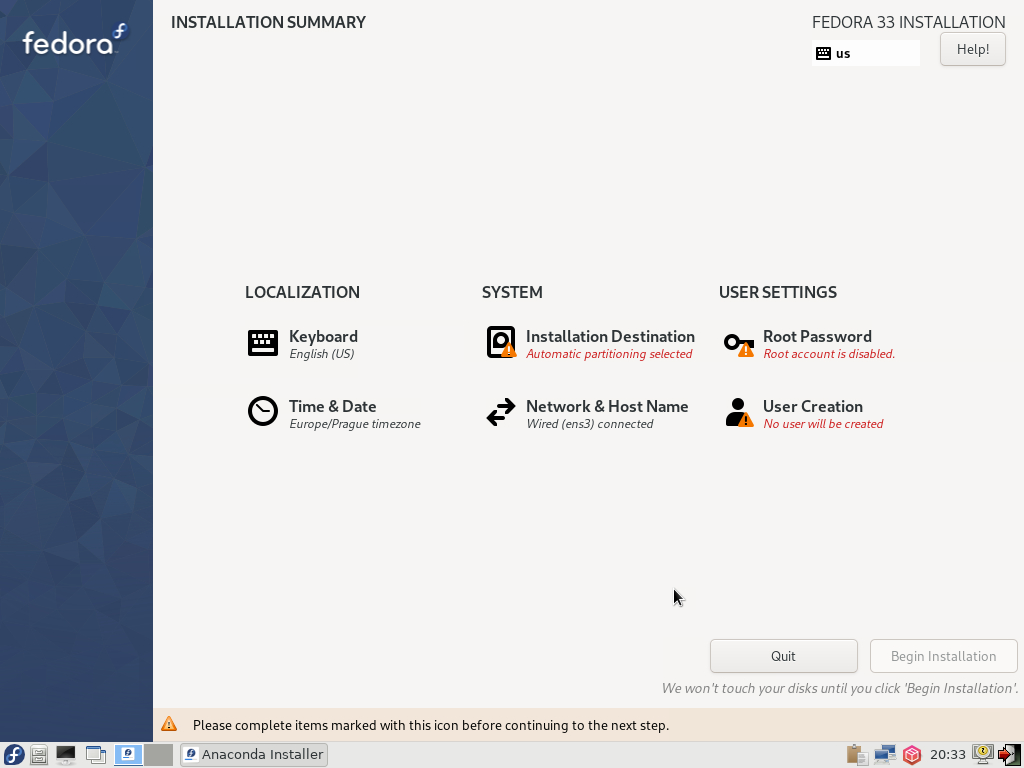
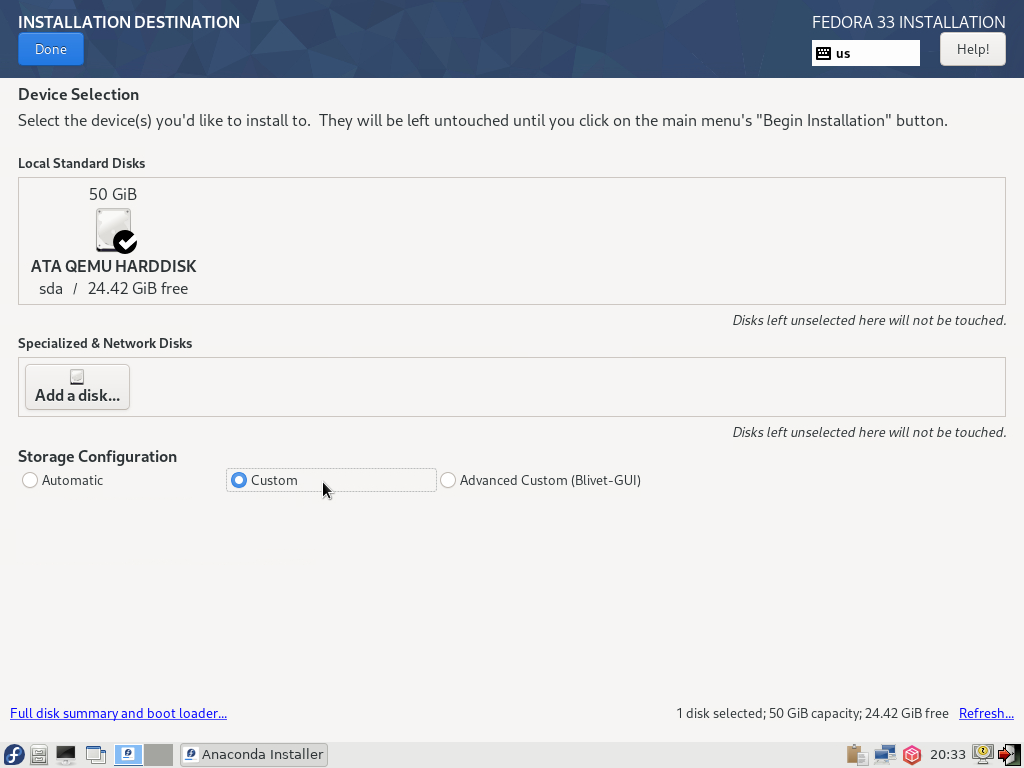
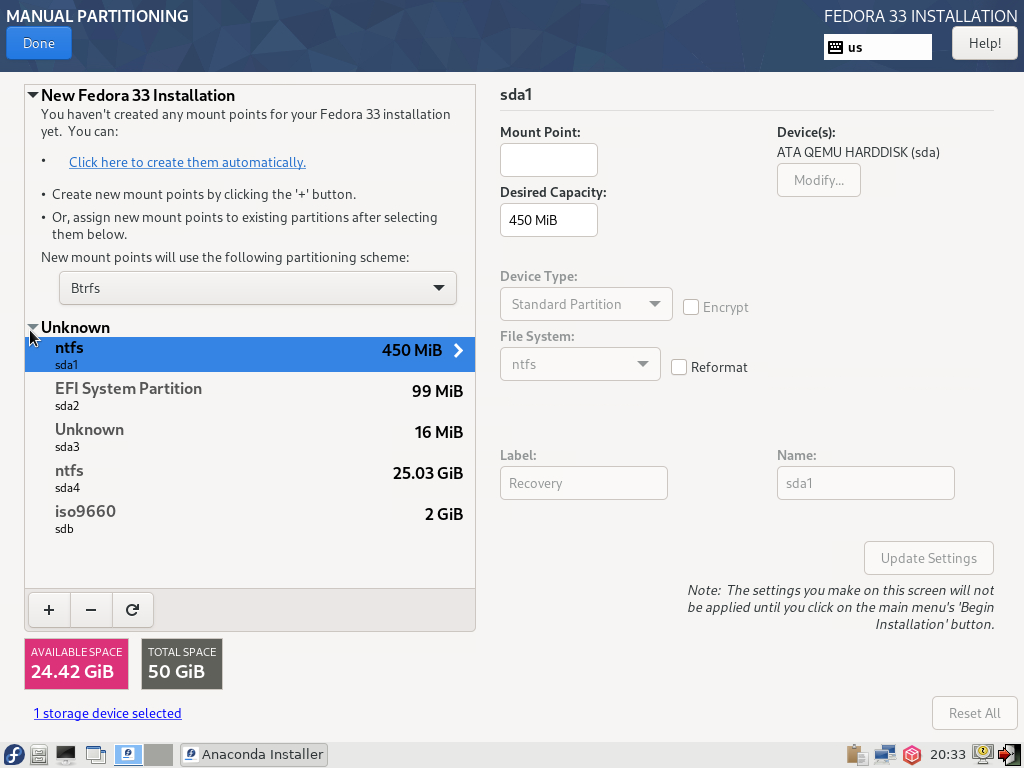
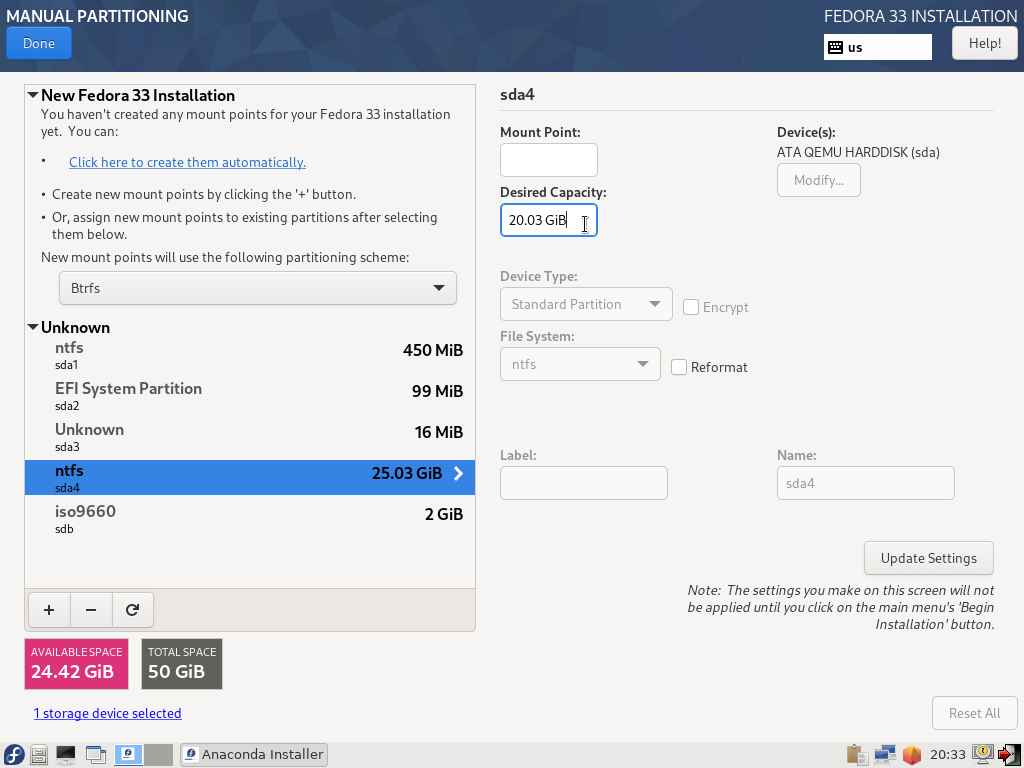
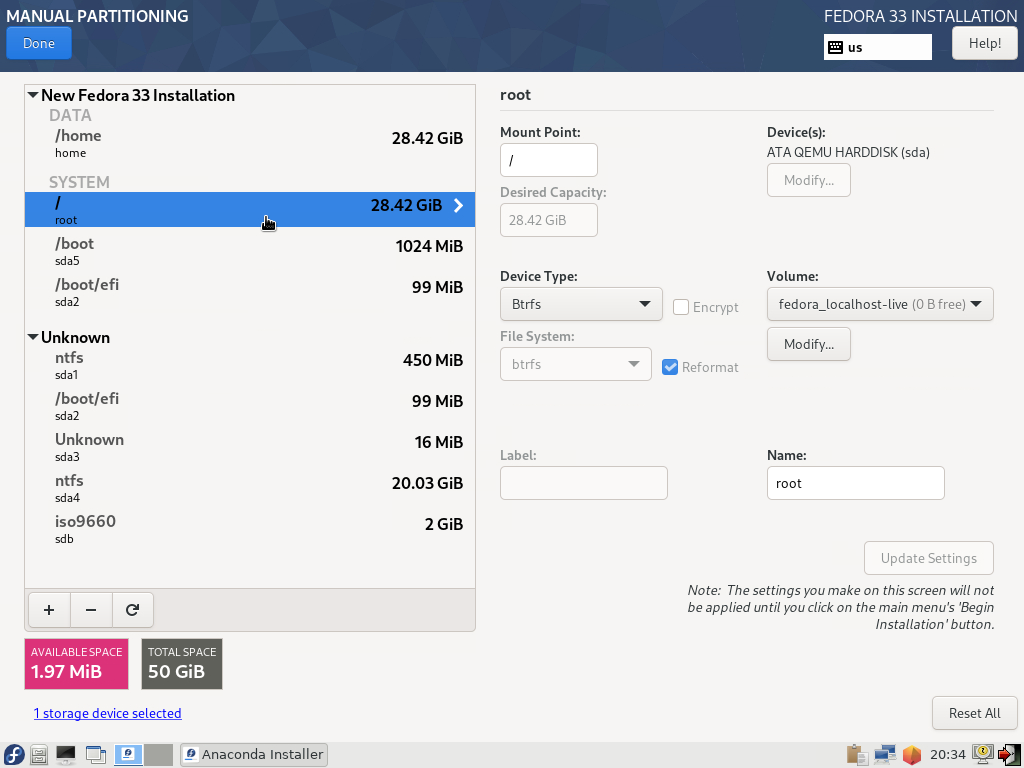
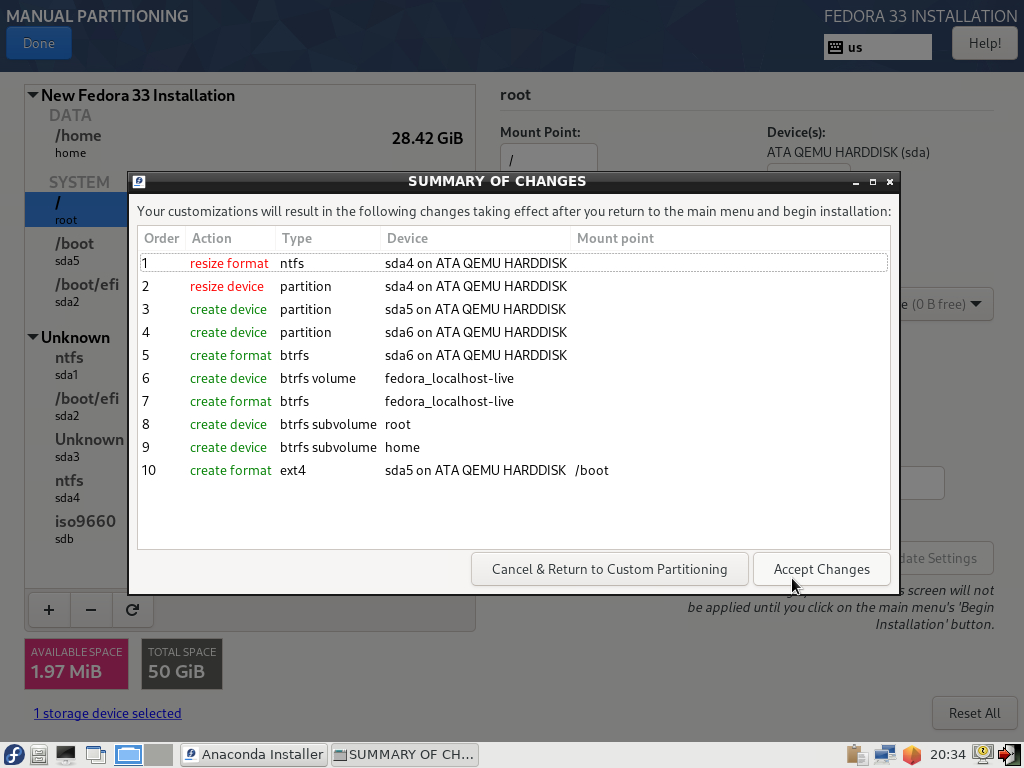
The only difficult part is preparing the hard-drive but you have already done that, right? It is necessary to select Custom when preparing the disk drive (as you do not want to erase the existing partitions). Once inside the disk editor, select the unallocated space and continue with automated partitioning.
As you can see in the gallery, it is even possible to resize the partition inside the installer. It is up to you what you prefer.

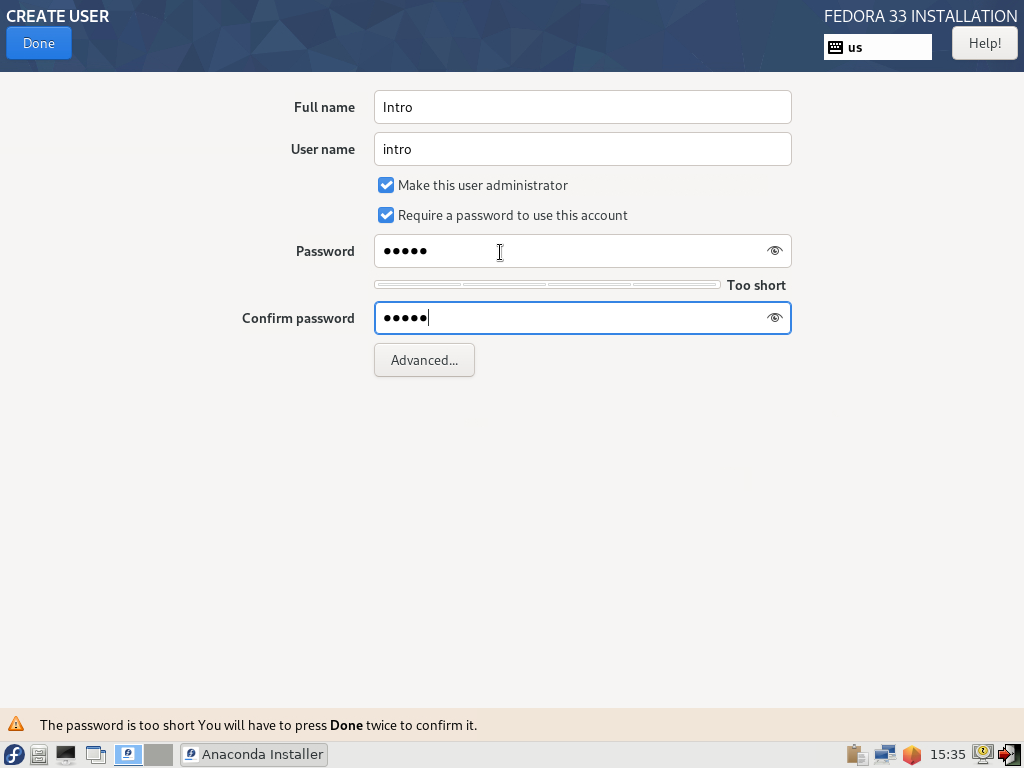
Then we create user and make it administrator on this machine.
When in doubt, you can always exit the installer without making any changes and restart the whole installation.
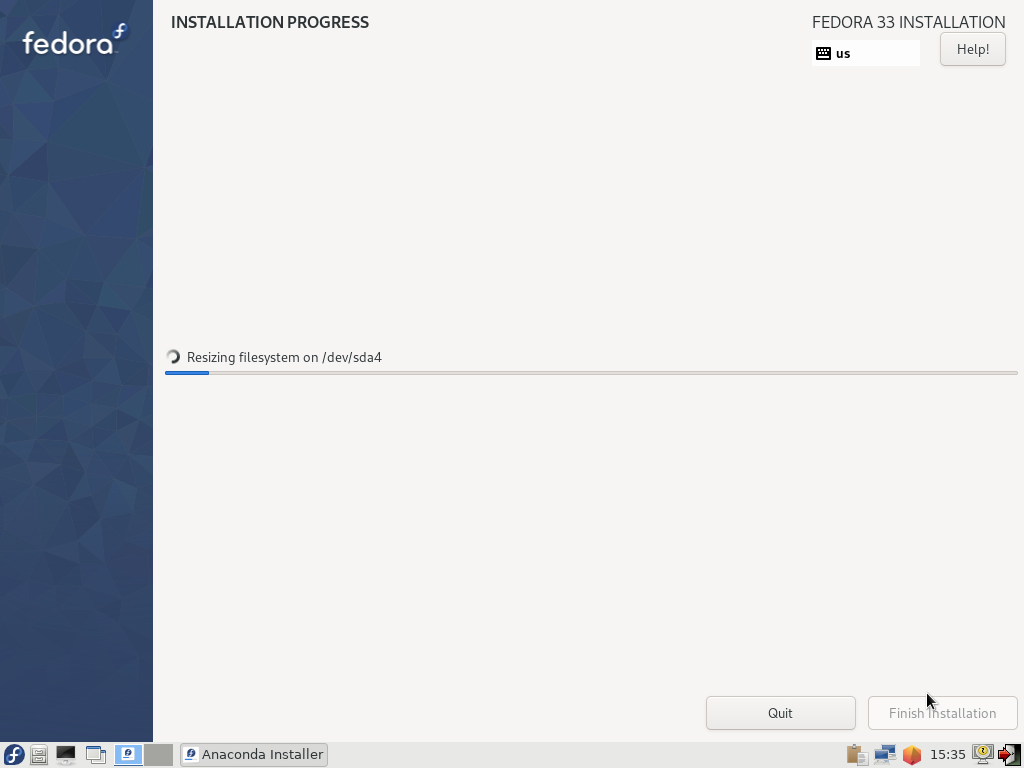

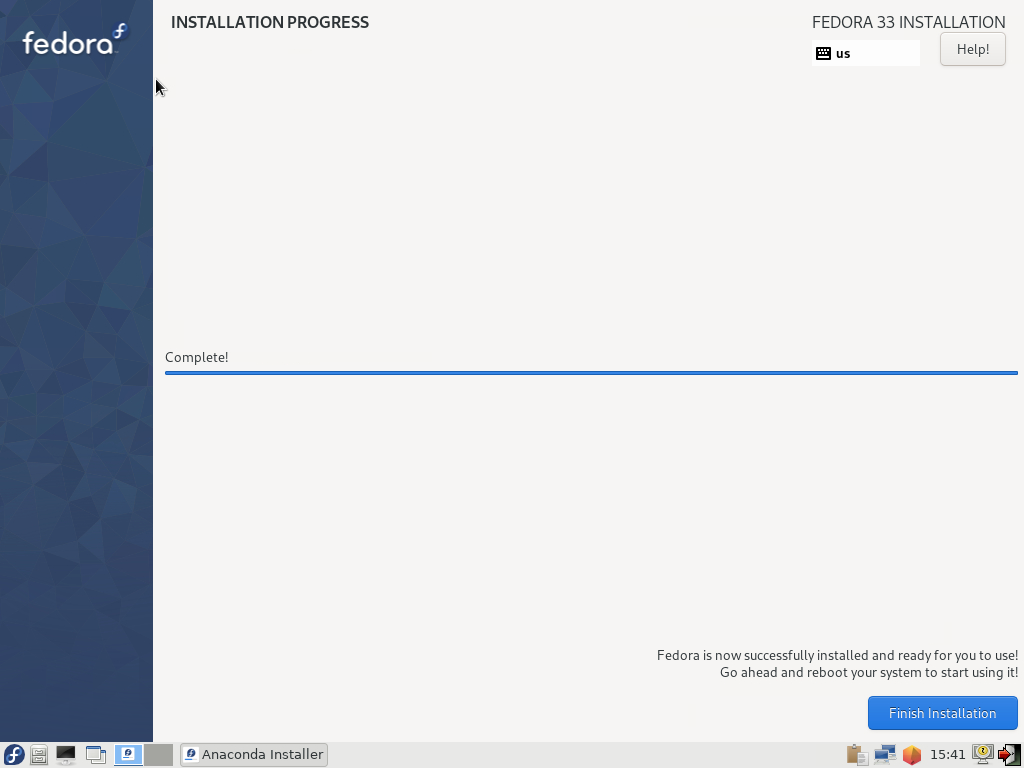
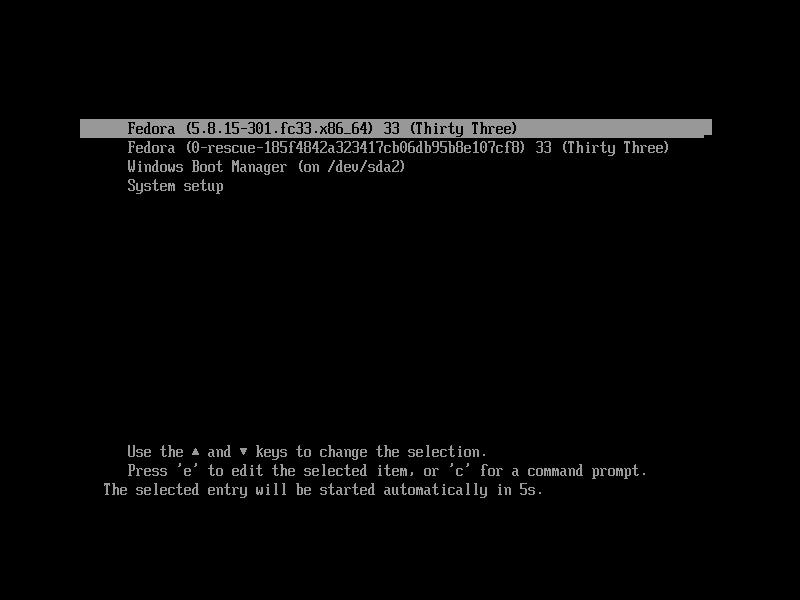
After the disk preparation is complete, you can start the installation process. That may take some time. When the installation completes, you will be asked to reboot your computer that should boot into a simple boot-menu where you select which operating system to boot. First check that your previous system can still be booted and then reboot again and start your freshly installed Linux system.
Several notes on partition sizes
There are several approaches how to partition your hard-drive and about million of opinions of what is the right way :-).
For beginners, we recommend to stick with the defaults from the installer.
Note that you will be able to mount your Windows partition in Linux (the opposite direction is possible too) and thus you can keep your multimedia etc. where they are without losing access to them.
Software installation and upgrade
The tool for software installation on Fedora is called dnf.
For most operations, you need to run it as a superuser (administrator).
Easiest way to do that is to execute the DNF command prefixed with sudo
(as do as superuser).
To see which packages are available, you can use dnf search.
sudo dnf search firefox
To actually install some package, you need to run
sudo dnf install mc
If you wish to upgrade the whole system, execute
sudo dnf upgrade
We will talk about installation in one of the later labs, this should be enough to get you started.
Installing the same software as was on the USB disk
Following commands should install the same software as we have on the prepared USB disk.
Following commands enable extra repositories where to fetch software from.
sudo dnf install https://mirrors.rpmfusion.org/free/fedora/rpmfusion-free-release-33.noarch.rpm
sudo dnf config-manager --add-repo  https://packages.microsoft.com/yumrepos/vscode/
sudo dnf config-manager --add-repo https://download.sublimetext.com/rpm/stable/x86_64/sublime-text.repo
sudo rpm --import "https://download.sublimetext.com/sublimehq-rpm-pub.gpg"
sudo rpm --import /etc/pki/rpm-gpg/RPM-GPG-KEY-rpmfusion-free-fedora-33
sudo rpm --import "https://packages.microsoft.com/keys/microsoft.asc"
This installs some core system parts (most of them will be already installed, though).
sudo dnf install @base-x @networkmanager-submodules @hardware-support @fonts @printing ibus ibus-m17n redhat-lsb-core
Installing all the desktop environments.
sudo dnf install @lxde-desktop lxdm @gnome-desktop @kde-desktop @xfce-desktop i3 i3-doc
Installing GUI utilities.
sudo dnf install @libreoffice @multimedia vlc atril zathura zathura-pdf-poppler ImageMagick @firefox chromium
Installing system and development tools (mostly).
sudo dnf install mc ranger vim emacs joe kate mousepad sublime-text code kernel-devel htop xorg-x11-apps ntfsprogs ntfs-3g sl tmux dkms git python3 python3-pip pylint python3-virtualenv ShellCheck bats jq vagrant podman podman-compose make pandoc fuse-sshfs VirtualBox kmod-VirtualBox arduino-builder arduino
Installing Czech and Slovak localization support.
sudo dnf install langpacks-cs langpacks-sk aspell-cs aspell-sk aspell-en hunspell-cs hunspell-sk hunspell-en hyphen-cs hyphen-sk hyphen-en mythes-cs mythes-sk mythes-en
Installing Zoom and Atom as they cannot be installed in the normal way.
sudo dnf install "https://atom-installer.github.com/v1.54.0/atom.x86_64.rpm" "https://zoom.us/client/latest/zoom_x86_64.rpm"